Today I setup a Mac for the first time with Boot camp and installed Windows 7 Pro. The process is fairly straightforward but I did hit a few stumbling blocks along the way. The main reason for this was because the documentation I was using was old and missed out some extra steps. So here is what I did.
1. First I ran the Mac Boot Camp Assistant. This helps guide you through the process of putting Boot Camp onto the Mac and installing Windows. The first screen you are presented with is shown below. Click Continue.

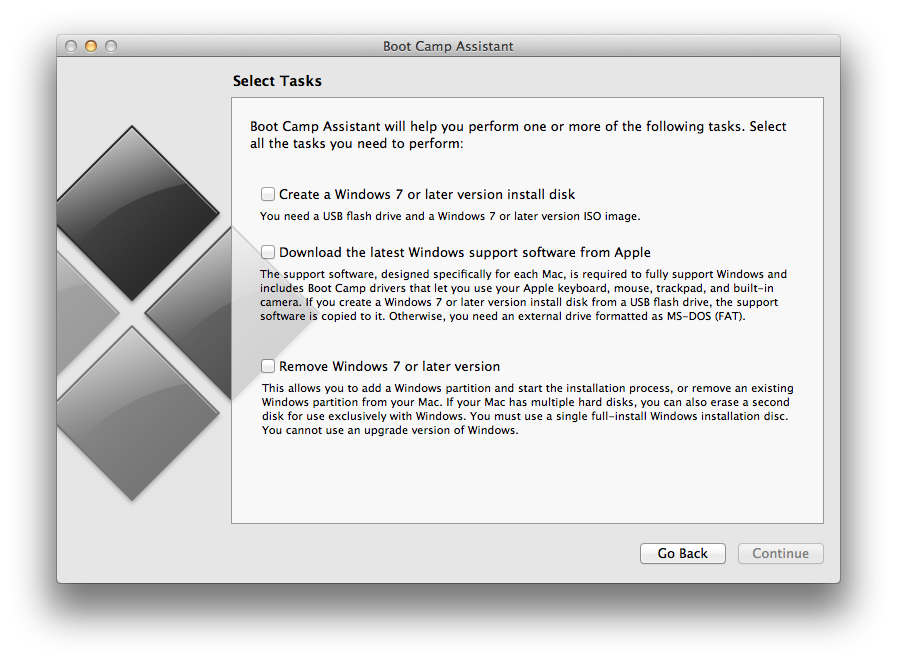
2. I was then presented with the screen below. I selected the middle option to download the drivers etc to USB for Windows.
3. The download screen then appeared and after a while I had the Windows Support Software on my USB.

4. Now I ran the Boot Camp Assistant again and this time at the selection screen I selected the bottom option to install boot camp and Windows 7. I needed to make sure I had the windows disc in the DVD drive before I started this process.
5. The next screen is to arrange your partition sizes. Just drag the little dot in between the mac and windows drives to set your size. I went with 32GB for the Windows partition as I didn’t need it to do much. Click install and your partitions will be created.

6. After the partitions have been created the mac will reboot and start the Windows install process.
7. Work your way through the Windows install wizard. First select your language and region options.

8. Click install now and agree to the terms. Now you need to select the custom install option.

9. Next you are presented with the partition selection screen. Here you select the partition that was earlier created by Boot Camp. It will normally be the bottom partition and have the words BOOTCAMP in the name.

10. You will need to format this partition making it an NTFS partition so windows can be installed. Click Drive Options to find the Format tool. Make sure the BOOTCAMP partition is selected before you do this.

11. After clicking OK your drive will be formatted. Finally click next and let windows install.
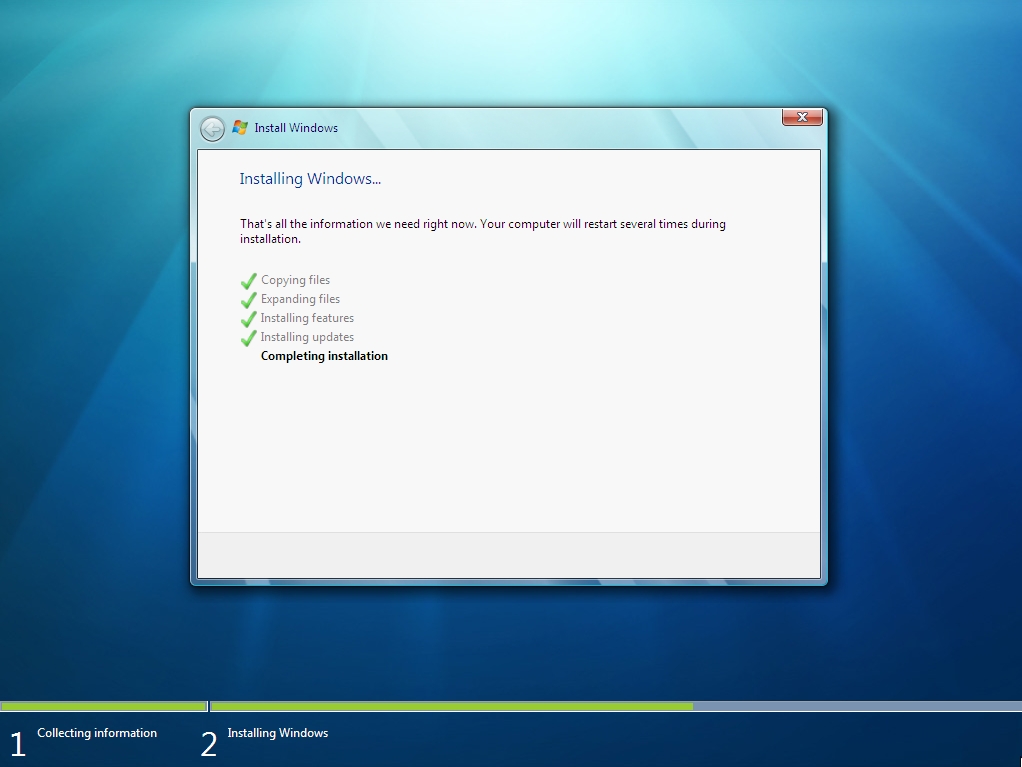
12. When the install is completed you will need to enter a username, computer name and password. Eventually you will be loaded into Windows.
13. Now you need to install the Boot Camp Windows Support Software from the USB you created earlier. Insert your USB drive and browse to the Boot Camp Folder. Double Click Setup and click Yes if prompted with a User Account Control window.

14. You will now see the Boot Camp Windows Support Software installer. Click Next and accept the agreement. The installer will now setup windows to use your Mac’s hardware correctly and install the Boot Camp Control Panel.
15. After a restart you will have Windows working on your Mac.
HINT: To be able to switch between OSX and Windows on startup hold down the ‘Option Key’ while the machine boots and use the arrow keys to select OSX or Windows.

